Discover The Secrets To A Perfectly Organized Seattle Kitchen in Only 4 Steps
Since flowers are blooming and rain is pouring, it must be spring in Seattle! This year, you can take spring cleaning one step further and do some “spring organizing” in your kitchen. Whether you’ve just remodeled and aren’t sure where to put things away or if you’re struggling with your current kitchen layout while planning your remodel, I’ll walk you through four simple steps to ensure your kitchen supports your life.
Step 1. Make a plan
I recently finished a kitchen organizing project with a new client. She emailed me a few days later to tell me how easy it was to find everything: “Your system is so intuitive!” Truth time: my system isn’t intuitive. Instead, I know what questions to ask and how to build an organizing plan based on the answers. You can do the same. Ask yourself:
-
What frustrates you?
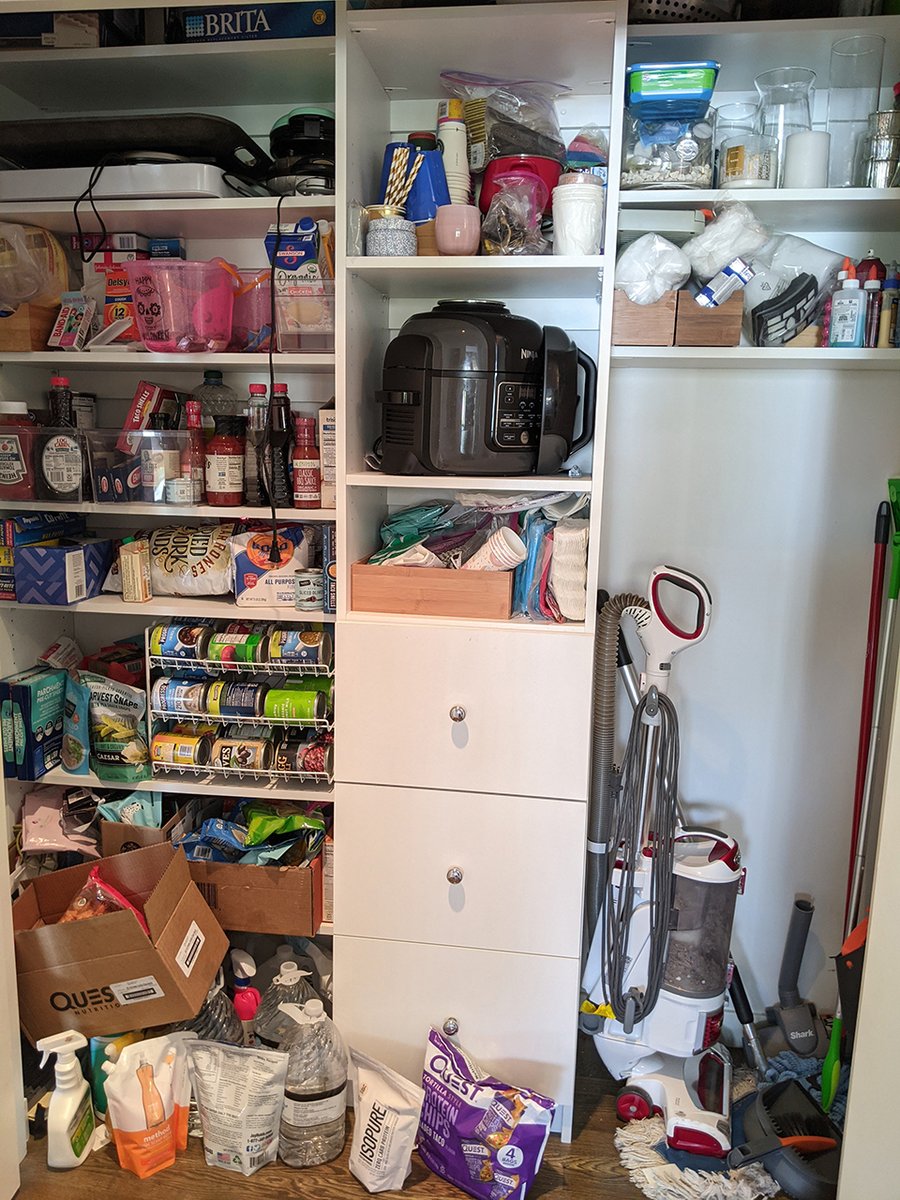
- For example: Every drawer and cabinet feels stuffed. I keep having to pull stuff out to get what I need - and sometimes, it’s not even there.
-
What’s your vision?
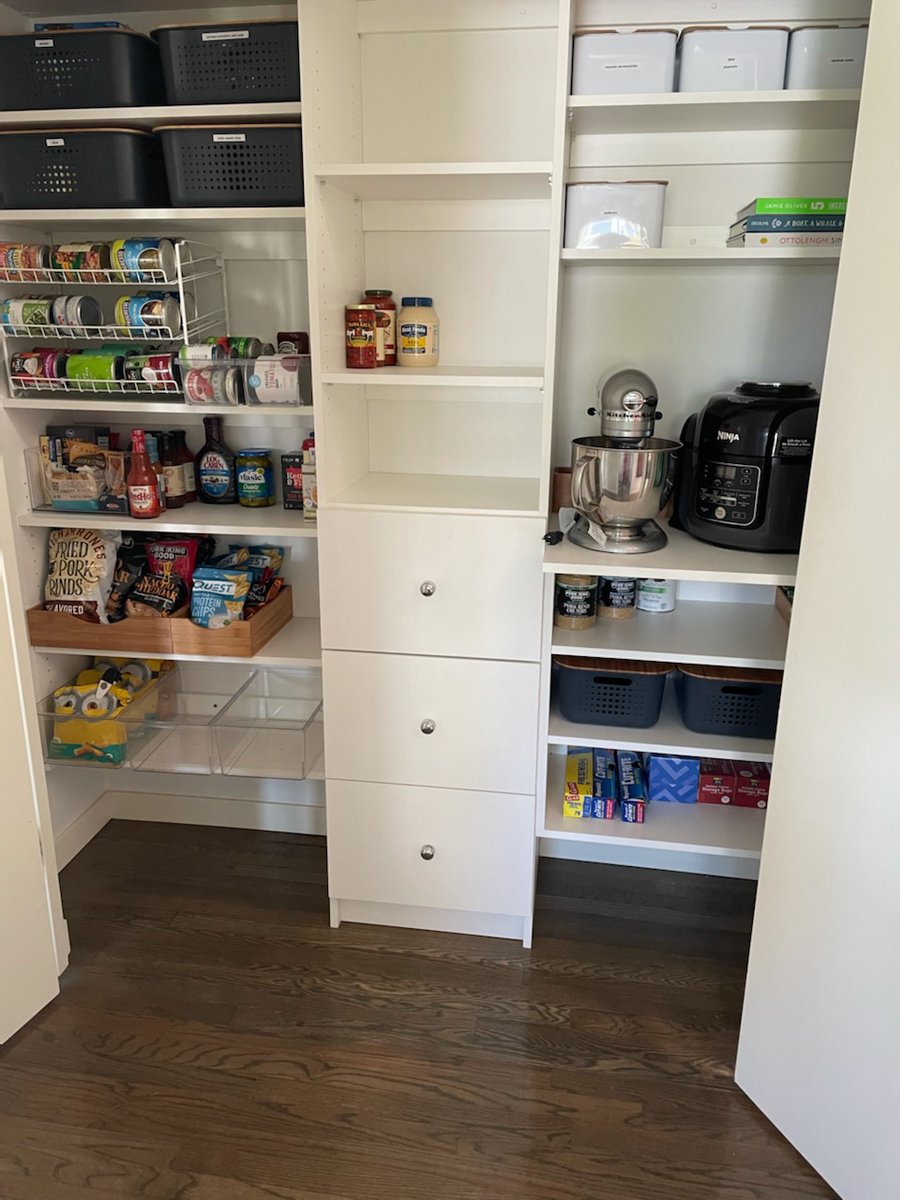
- Something like: Each drawer feels spacious.
-
Are you trying to reduce the number of kitchen tools or dishes you have?
- Set a percentage reduction goal at the beginning and refer back to it throughout your project.
-
How will you decide what to keep?
- Set criteria now. (Before looking at the breadmaker you’ve always meant to use.)
-
What activities happen in your kitchen?
- If you think about your regular activities, it will help you reorganize to fit your daily life. I’ve worked with clients who have “getting ready for a walk” and “homework” zones in their kitchens
-
Are there other members of your household that you need to consider in the process?
- Involve them from the start to ensure you each understand the plan.
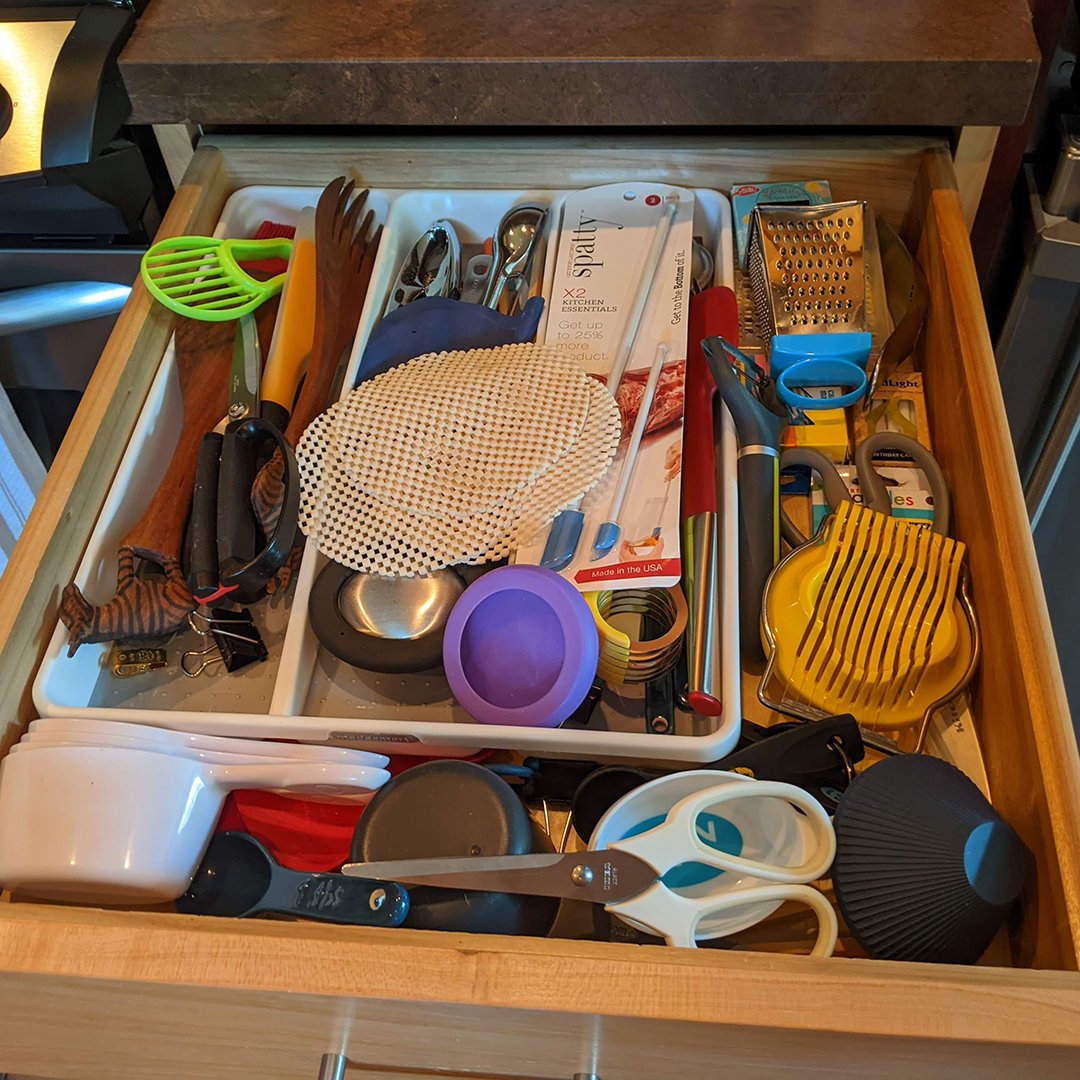
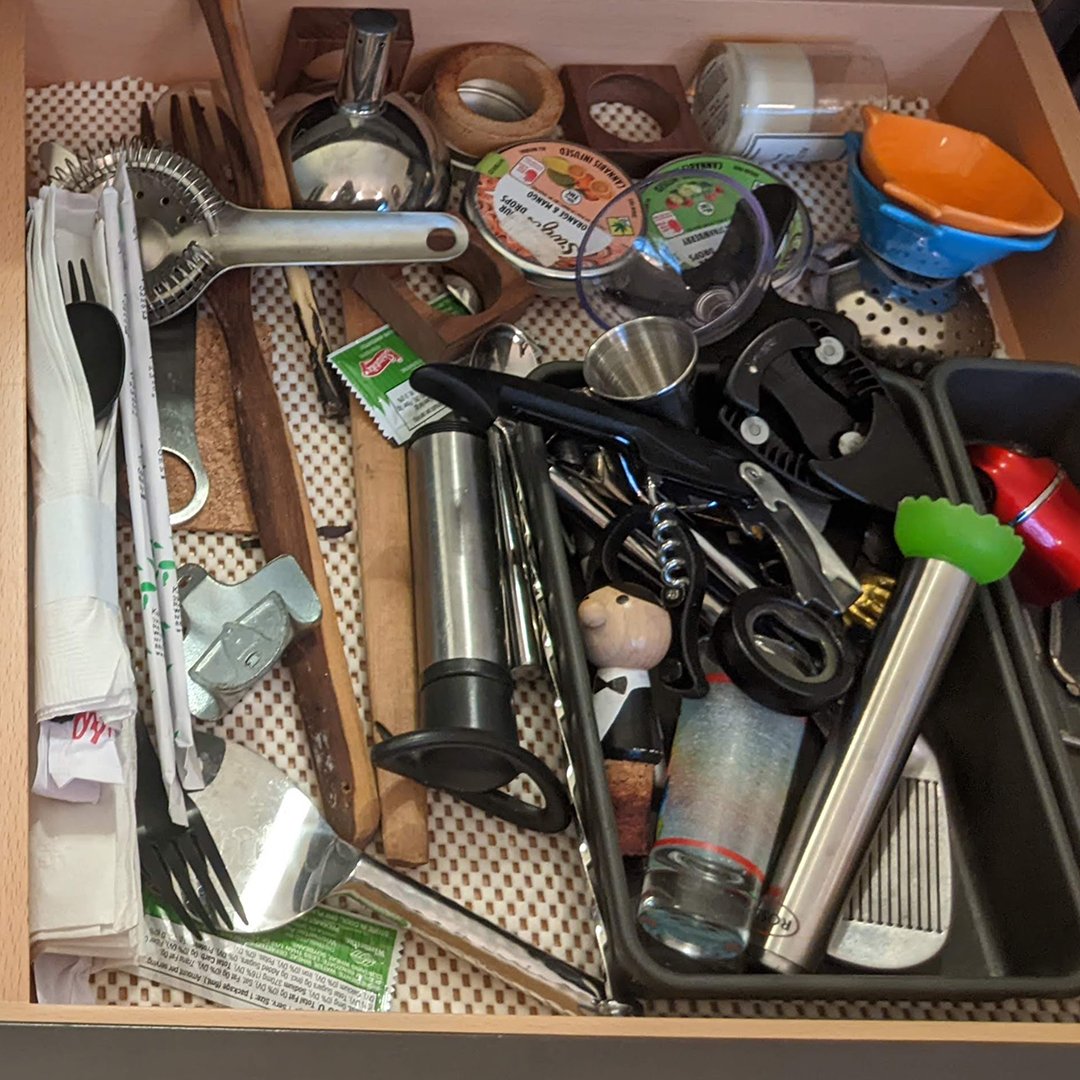
Step 2. Empty every cabinet and drawer. Yes, really
A repeat client greeted me at the door: “So, are you going to make me take everything out again?” She knew the answer was yes. Yet even when you’ve experienced the value of this step, it can feel daunting. I recommend the below:
-
Open any drawer in your kitchen
- Remove all items, ideally relocating them to another area of the home. This gives you a fresh perspective on the decisions you’re about to make.
-
Sort the items into categories that make sense to you
- Examples of categories are gadgets, bartending, small appliances, cooking utensils, baking supplies, food storage, etc. You may only have one or two categories at this point. Then do it again - the next drawer, the next cabinet - adding to and creating new categories as you go.
-
Now, edit by category
- Consider what matters to you as you decide what to keep or donate, looking at your sorting criteria anytime you get stuck.
Step 3. Create zones based on how you use your kitchen.
This is where all the planning time you spent in Step 1 really pays off.
-
Determine zones for your most frequent activities first
- Look back at your list of activities. What happens daily or weekly? Dedicate the most valuable kitchen space to these activities. How much space is left? For less frequent activities, like entertaining or holidays, creating zones in another area of the home may make sense.
-
Now put everything away
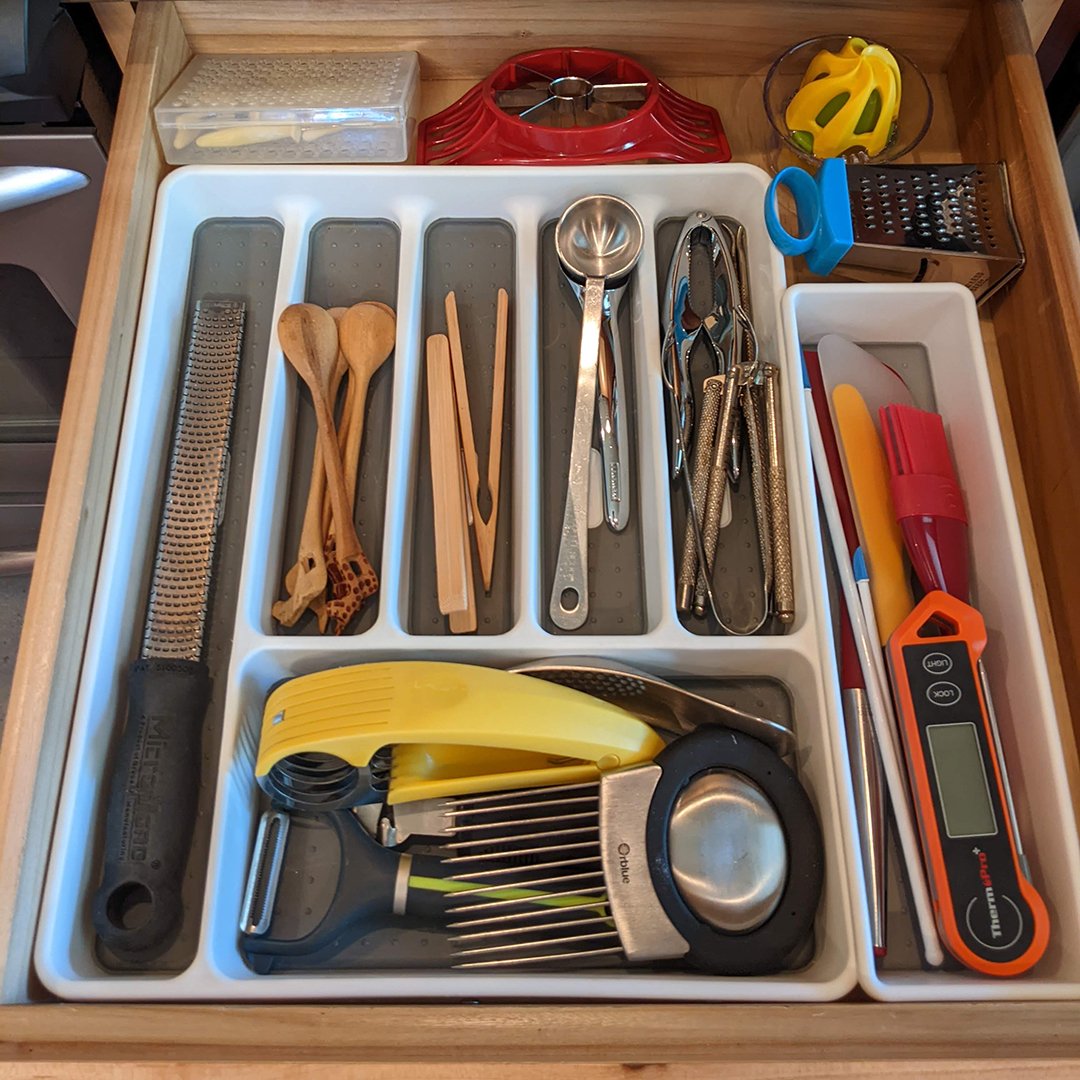
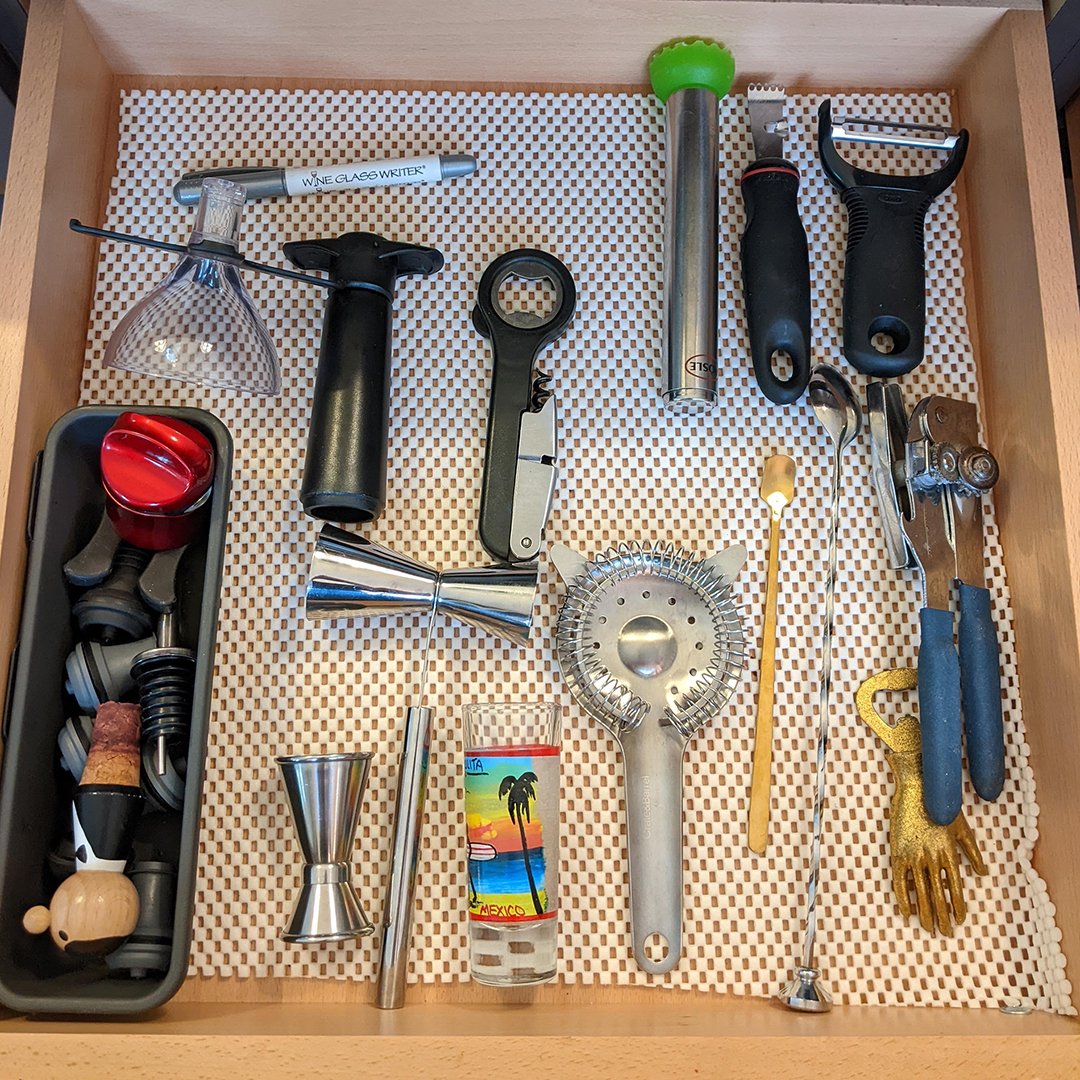
- Once you have locations for all of your zones, put the categories of items where they belong. As much as possible, keep categories together. The combination of categories and zones is powerful: when looking for your zester, you know it’s a part of the specialty gadgets category in the cooking zone.
-
Leave room for growth
- Leave about 20% of the space empty in any given drawer or cabinet. This will make it easier to see what you have on hand, grab what you need and when someone gives you a new mug for your birthday, it won’t overstuff your coffee cabinet.
-
Try it out
- It can be tempting to believe your new kitchen setup is perfect. Instead, assume it’s not and live with it for a bit. I often do a first session with a client and then return in a week for fine-tuning.
Pro Tip
When people ask me where something should go, I always respond: tell me how and when you use it.
Step 4. Now consider if you want to buy bins or baskets.
I understand the desire to buy organization containers at the beginning of a project. It will save time, right? Trust me, what will save time is knowing exactly what you have and where you’re going to store it before you shop.
Do you already have the kitchen of your dreams but need help organizing it?
Innovative Home Renovations is partnering with Emily Santos and Essential Organizing to bring you regular organizing advice, tips, and how-to’s. If you need extra help as you start organizing, head to her website, www.essentialorganizing.org, to download her Free Sorting Tips. Or, if you already know you’ll need some extra help to get the job done right, schedule your complimentary Initial Intake Call, and start organizing with Emily!

Get Your Free Kitchen and Bath Pricing Guide
Know exactly how much your dream remodel is going to cost!


by Emily Santos